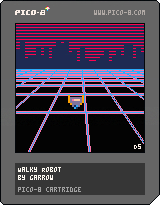
Walky Robot, a cart for the PICO-8 fantasy console
January 2, 2018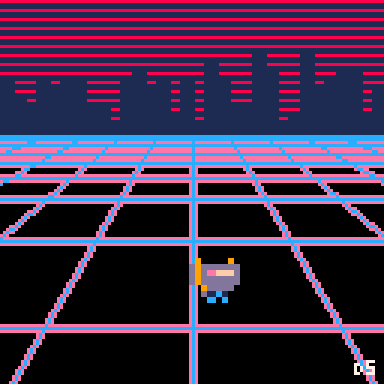
While it’s more a digital toy than a game, I guess you might stretch to calling it a walking simulator.
TL;DR
I made a visual toy with PICO-8.
You can play with Robot in your browser or download the cart as a PNG file.
So what is this thing anyway?
About a year ago, over the holiday break, my friend John released a VSCode plugin for doing PICO-8 development.
This convinced me to try two things I’d not yet used - but had been meaning to try - VisualStudio Code and PICO-8.
PICO-8
PICO-8 is a fantasy console for making, sharing and playing tiny games and other computer programs. When you turn it on, the machine greets you with a shell for typing in Lua commands and provides simple built-in tools for creating your own cartridges. — lexaloffle.com
This spurred me to try it out. With fresh copies of both PICO-8 and VSCode I got started.
“Walky Robot” (robot.p8) was the first thing I made.
Robot
Advice I received years ago was to just finish one small thing no matter how trivial it feels.
![]()
I created a little sprite, and could animate him flying? by swapping sprites.
Once I had my sprite I got him moving, up, down, left and right.
This was easy enough to to imperatively, but I wanted to try a different approach.
s = {
  moving=false,
  sp=3,
  facing = "left",
  x = 40,
  y = 60,
}
The robot data table contains x,y, and sprite, and I wrote a function character_directional_movement to get a new state for the table based on the global state, i.e. player key presses.
I wanted to keep functions side effect free, so this function doesn’t mutate the passed in character, all the mutation happens in the core _update function.
Below is the final version with a few details stripped out, but the first version didn’t yet account for facing or sprite swapping.
function character_directional_movement(character, player_id)
  -- Copy old x,y,facing values
  -- mark moving as false
  -- Compute notional velocity based on screen position
  -- Test for button presses
  -- Calculate new pos based on direction & velocity
  -- return new state
  return {
    x = new_x,
    y = new_y,
    facing = new_facing,
    moving = new_moving
    }
end
Robot 2.0
While I really liked the flame effect on my flying robot, I wanted the robot to be able to face in a certain direction, and to be animated walking in each of those directions.
So I made a new robot.
![]()
![]()
To make my robot move in 4 directions, and look like its actually moving, I needed to both animate it, and add facing directions.
I just used a hash lookup for this, adding fields to the robot data table.
s = {
  -- ...
  facing_sprites = {
    left  = { 3, 4 },
    right = { 19, 20 },
    up    = { 21, 22 },
    down  = { 5, 6 }
    }
  }
Each facing is a pair of sprites, so we pick the correct facing, and toggle between the two sprites about half the time. This function takes the character and the global clock.
function character_sprite(character, time_point)
  local animation_set = character.facing_sprites[character.facing]

  if (time_point % 10 < 5) then
    new_sprite = animation_set[1]
  else
    new_sprite = animation_set[2]
  end

  if (character.moving == false) then
    new_sprite = animation_set[1]
  end
  return new_sprite
end
Aesthetics
I’d been listening to a lot of synthwave, so was aesthetically in that zone. I wanted something reminiscent of the “RetroWave” style.
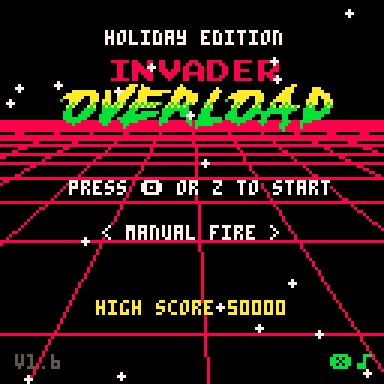
I found an example cart Invader Overlord overlord.p8 by morningtoast in PICO-8’s “splore” mode which had a grid effect I liked, and copied the code over.
-- horizon grid, by electricgryphon
grid={
  color=0,mfg=7,mbg=2,
  hfg=13,pbg=2,
  draw=function()
    w=127
    n=15

    background.t+=.75`
    for i=0,n do
      z=(i*n+background.t%n)
      y=w*n/z+32
      line(0,y,w,y,8)
      v=i+background.t%n/n-n/2
      line(v*9+64,40,v*60+64,w,8)
    end
  end
},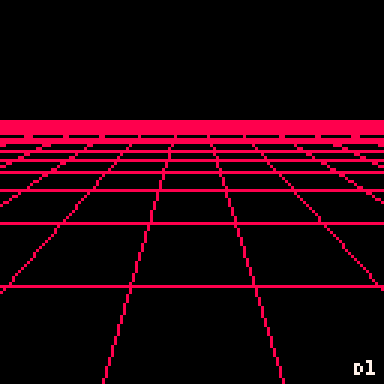
Pretty cool, but I thought a glow effect might make it more rad! Dude.
This turned out to be just a simple bit of redraw trickery.
I extracted a function to draw the grid, and let the function take an offset value. This allows drawing a full grid repeatedly.
offset_grid=function(bg, w, n, offset, current_color)
  for i=0,n do
    z= (i * n+bg.dy % n )
    y= w * n/z + 32
    -- Horiz (y)
    line(0, y + offset, w, y + offset, current_color)

    v = i + bg.dx % n / n-n / 2
    -- vert (x)
    line(v*9+64 + offset, 40, v*60+64 + offset, w, current_color)
  end
Then I just call it 3 times in a row with different colours and offsets
Note that I cannot render the shadow and the top lines in the same loop, as subsequent glow lines will overdraw the main grid.
-- Pink underlines first
offset = -1
offset_grid(background, w, n, -1 , grid_bg.color_b)
offset = 1
offset_grid(background, w, n, 1, grid_bg.color_b)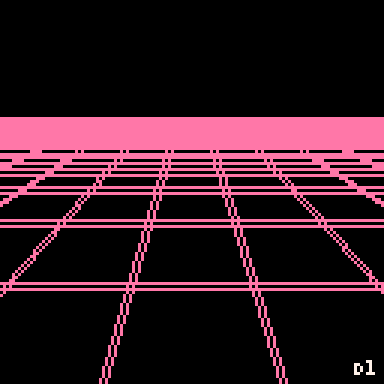
-- Blue overline on top.
offset = 0
offset_grid(background, w, n, offset, grid_bg.color_a)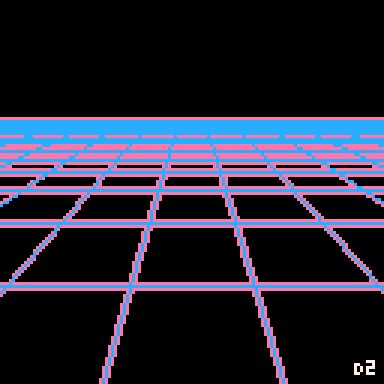
City Generation
The city terrain is a set of rectangles, generated randomly once at game start. They are drawn in silhouette over the stylized sky, so the fact that they overlap and are all steadily increasing in z-index is not a big deal.
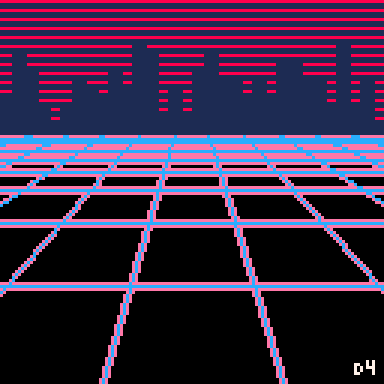
This is easier to see with animation, or more colour!
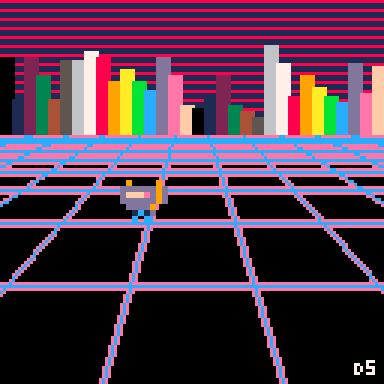
All coming together

You can play with Robot in your browser or download the cart as a PNG file.
The robot code is also available on github.
You can also shuffle between rendering different layers using the keys on your keyboard, probably z and x.
PICO-8 next
I had heaps of fun making this, picking colours, messing with simple geometry and getting creative within the constraints of the PICO-8 to give some neat results. It’s a fun little toy.
Soon I’ll write up the second thing I made, a clone of scorched earth in the PICO-8.